


Hello! Welcome to the Ultimate 3D Printing Guide, where I will describe step by step how to print and some tips for printing complex objects.
How to Print, a step-by-step guide:
1. Open your desired part. Both part studios and assemblies will work.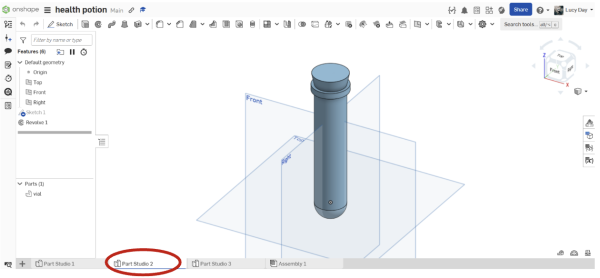
Tip: You can tell whether your part has been opened in a studio or assembly by looking at the tab selection at the bottom of the screen.
2. Right click on the desired part of the project browser under the parts section.
Tip: You can tell which part is which by clicking on each part under the Parts section. It will highlight the corresponding part in yellow.
3. Click on “Export.”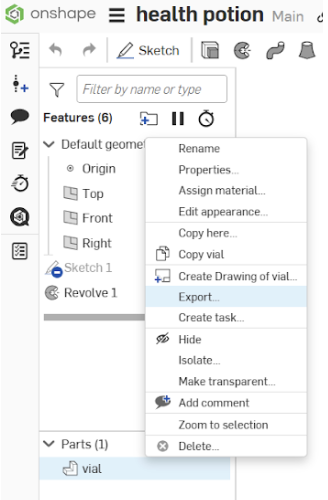
Tip: If you want to change the color of your part, click “edit appearance” to open the color and material dialogue box.
4. Set the format to STL.
Tip: Rename the file to include your name so you can easily pick out which file is yours.
5. Set the STL Format to “Binary,” set the Units to “millimeter,” set the resolution to “fine,” and set the Options to “Download.”
Tip: Always check the size of your part before final printing. If it’s too small or too large it’s likely you need to change the units to the customary system or to a different size.
6. Click Export.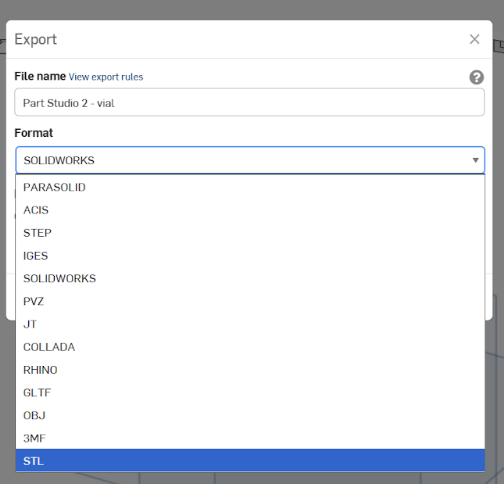
Congratulations! You can now move from Onshape to Prusa Slicer!
7. Open Prusa Slicer.
Tip: For this tutorial I’m using a windows computer; if you’re on a Mac, feel free to open the file using another way. Additionally, make sure to keep your slicer up to date to prevent printing errors.
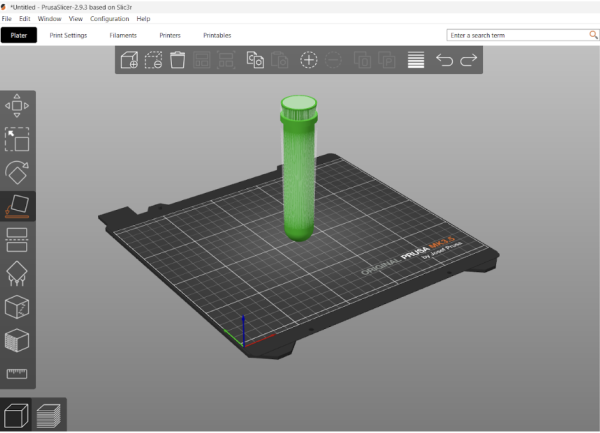
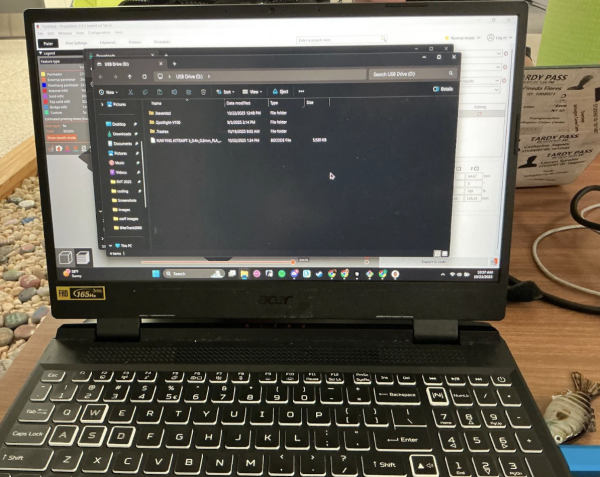
8. Drag and drop your file from the file browser (Finder on Mac) to the open field in Prusa.
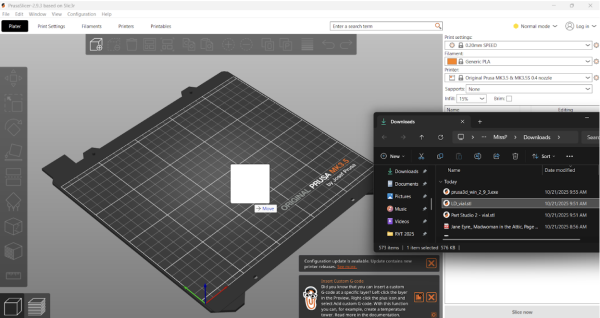
9. Click the “Place on Face” icon.
10.Click the face you want on the bottom of your object to stick that face to the plate.
Tip: Picking which face to place on the plate can be up to many different factors about printing. In the end, most of the time you want to pick the flattest, widest face. Supports are much more powerful than you’d think and are less likely to fail than your project slipping off the plate so even if it means more supports a bigger base is almost always better.
11. Set the Print Settings to “0.20mm SPEED”, the Filament to “Generic PLA”, and the Printer to “Original Prusa MK3.5 & MK3.5S 0.4 nozzle”.
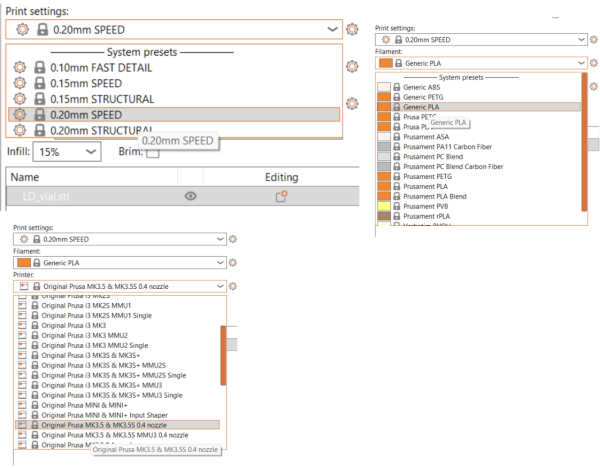
Tips: These settings will get you through most prints, however there are some changes you can make. STRUCTURAL will make your print slower, but more detailed. FAST DETAIL will speed up your printing, but details such as hole sizes might end up being off. Always remember to check your filament wheel before printing. It will be labeled with the filament type, change as necessary. If you can’t find the Printer in the list of printers Click Add/Remove printers, find the printer you’re looking for (MK3) and select the 0.4mm nozzle size.
12. Click Slice Now.
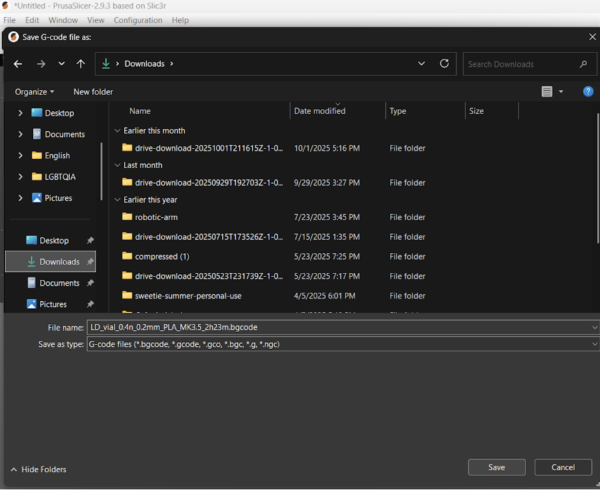
13. Click “Export G-Code” and “Save” to any folder you want (I like using Downloads).
14. Hop over to the 3D printers and grab a USB.
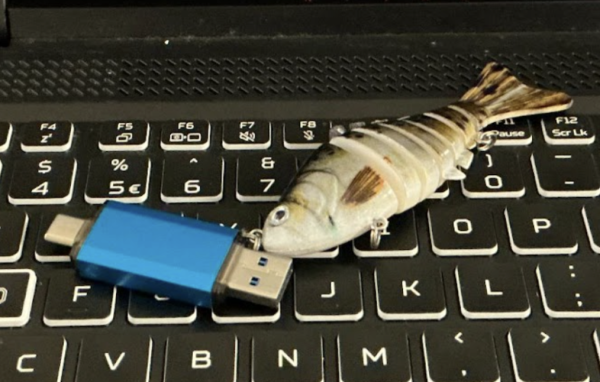
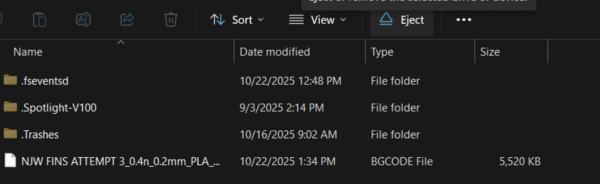
15. Plug the USB into your computer, transfer the file to the USB, and EJECT. Please EJECT the USB or it might delete all the files on the USB.
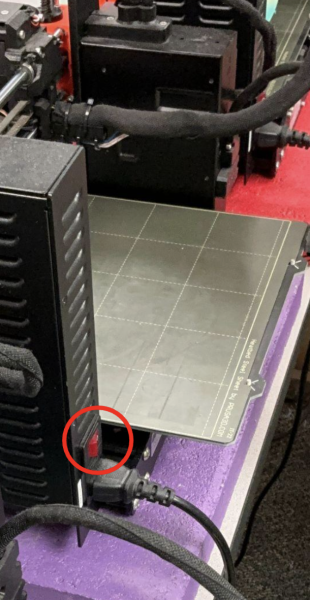
16. Head over to the 3D printers and turn on the printer using the red switch on the back.
 17.Plug in the USB.
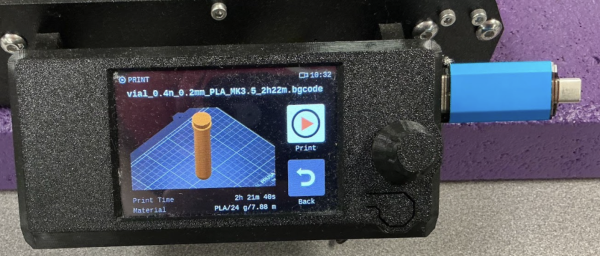
18. Press the knob to start the print! (And pray nothing goes wrong!)
Pictures by Lucy Day